Finish: Control Shine, Keep Dimension
In everyday conversation, dewy skin reads as rested and hydrated. On a digital video sensor lit by directional LEDs, that same dewy finish often produces bright white specular reflections that obscure facial expressions and mimic sweat. The solution is not coating your entire face in heavy chalky powder—it is selective surface control.
Why Camera Sensors Read Shine Differently
Oils and liquid luminizers act like tiny mirrors, bouncing the key light straight into the lens barrel.
Webcams and mirrorless cameras executing 8-bit video clip bright forehead highlights into featureless white patches.
High-gloss balm or pearl highlighter sitting beside enlarged pores increases local contrast, making texture look deeper.
The Two-Zone Complexion Method
Broadcast makeup artists from BBC Television Centre to independent YouTube production studios rely on zonal finishing rather than uniform coverage. When every square inch of the face has the exact same flat-matte finish, the camera loses the subtle tonal gradients that tell the viewer's brain the face is three-dimensional.
Divide your preparation into two distinct zones:
- The Specular Triangle (Velvet-Matte): Runs from the center of the forehead between the temples, down the bridge of the nose, across the infraorbital cheek triangle (directly beneath the inner eyes where pores are visible), and onto the center of the chin. Here, light hits at a near-90-degree angle. Use oil-controlling primer and press translucent setting powder firmly with a puff.
- The Expressive Perimeter (Natural Satin): Covers the outer cheekbones, temples, jawline, and upper neck. Leaving a natural skin or demi-satin finish here lets gentle side reflections define your bone structure without creating glare.
Press and Roll—Never Sweep
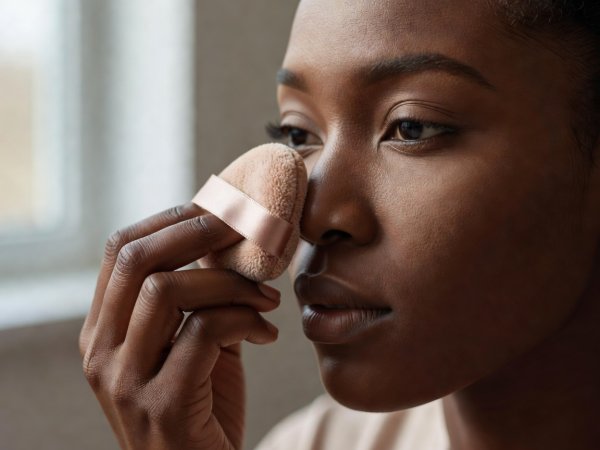
Sweeping a large fluffy brush back and forth across freshly applied foundation lifts micro-flakes of skin and shifts the pigment underneath. Load a velour puff with a small amount of powder, fold it in half, rub the sides together so the powder disappears into the fibers, and press-and-roll strictly onto shiny zones.
Compact Finish Comparison for Video
How common foundation and tint categories behave across different recording setups and lens distances.
| Formula Category | Camera Reflection Behavior | Best Recording Scenario | Watch Out For |
|---|---|---|---|
| Satin / Demi-Matte Liquid | Diffuses harsh LED hotspots while retaining natural skin micro-movement. | All-purpose studio LEDs, 4K mirrorless cameras at 3–5 ft distance, 1–3 hour sessions. | Still requires targeted blotting/powder along the sides of the nose after 45 minutes. |
| Sheer Serum Skin Tint | High light transmission; lets freckles and natural undertone variación show through cleanly. | Soft natural window light, laptop webcams, short 15–30 minute educational updates. | Emollient oils can amplify glare rapidly if placed under an un-diffused ring light. |
| Long-Wear Full Matte | Absorbs light uniformly; blocks redness and high-contrast blemishes completely. | Warm stage environments, oily skin types, wider two-camera interview shots. | Can look dry or emphasize fine lines around the mouth on tight macro or 4K close-ups. |
| Cream Stick / Pan Base | Flexible wax-and-pigment matrix that moves well with expressive speech. | Spot-concealing and targeted redness neutralization without full-face foundation. | Must be warmed on the back of the hand and applied in paper-thin layers to avoid creasing. |
Undertone & Powder Chemistry Across Skin Tones
Avoiding the White Silica & SPF Flashback Trap
Many setting powders marketed as "universal translucent" consist of 100% spherical silica or high concentrations of talc and titanium dioxide. Under a strong key light, those particles scatter white light back toward the camera sensor. On medium, tan, olive, and deep dark complexions, this creates an unmistakable pale grey halo around the mouth and under the eyes.
Look instead for tinted micro-milled powders featuring corn starch, rice starch, or iron-oxide-tinted mica matched to your undertone family (golden, peach, rich mahogany, or neutral olive).
Skincare Under Makeup: The 12-Minute Absorption Rule
Applying foundation immediately over rich hyaluronic serums, heavy peptide creams, or facial oils causes the makeup to slide and separate into tiny islands on camera. Apply a lightweight gel-cream moisturizer at least twelve minutes before your recording prep, and blot any unabsorbed surface tackiness with a dry tissue before touching primer or concealer.
See How to Maintain This Finish